
The end of the school year means paper mache mask making.
What a job. . .but the results always make me smile.
Step 1: Tape a balloon to a large can.
Step 2: Begin painting on the newspaper strips (1" x 6") with 1 part water/1 part Elmer's glue


Step 3: Repeat step 2, 4-5 times. Alternate newsprint with white paper so that the kids can easily tell which areas have been recovered. This eliminates weak spots.
We use wadded up newspaper, paper cups, poster board, and a whole lot of masking tape to form the masks. Each child chooses the animal they want to create and then parents & I help them form their masks.
Some parents are quite talented!


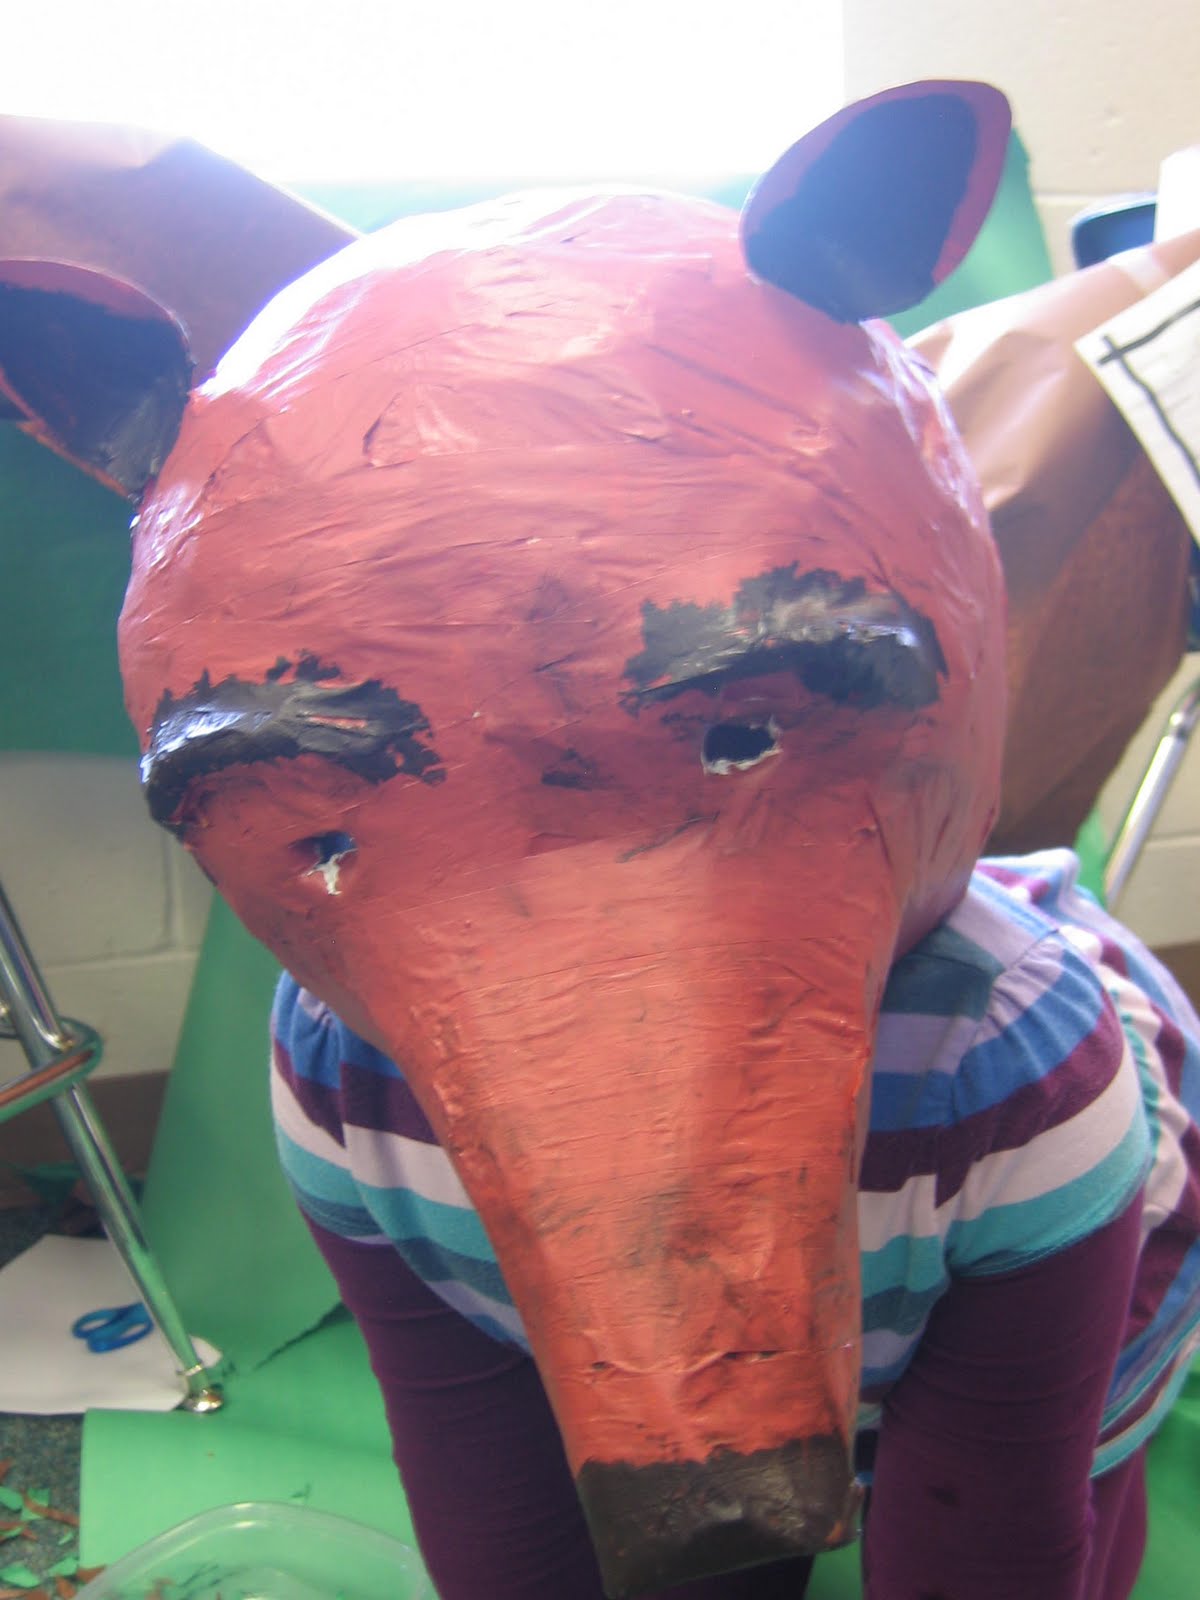
And then come the smocks & acrylic paint. . .


Voila!!!!


This project is QUITE the project for first graders and every year, mid-project, I wonder what I was thinking. But once the masks are complete, I know that I must do them again next year.
Okay I LOVE the frog the best, but they turned out adorable!
ReplyDeleteJennifer
Love it! They look so professional! I am wondering where do you put the eye holes? Thanks for sharing!
ReplyDeleteJenn. . .I put the eye holes wherever it seems to work best. Some are where the animals eyes would be, the frog's went under his mouth, for others I just cut little slits near the cheeks or noses.
ReplyDelete